
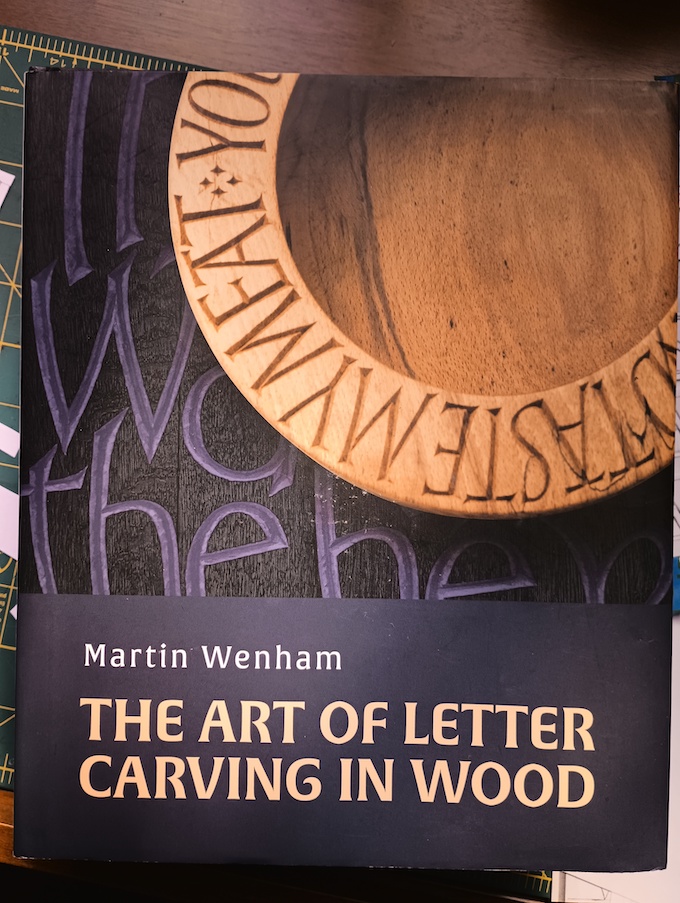
Taking a page from Martin Wenham’s wonderful ‘The Art of Letter Carving in Wood’, I spent a few days recently carving the names on different pieces of wood I had laying around my shop. Good for practicing design, layout and execution of letter carving, this is also a low risk project for learning what kinds wood are best for carving, and those that aren’t.
Wenham’s book is essential. It covers every step of the process in detail. Read it and then start carving! It’s the best way to learn how to do a lettering project from a sketch to a finished product. Experience, as always, is the best teacher. And this book makes a great guide.
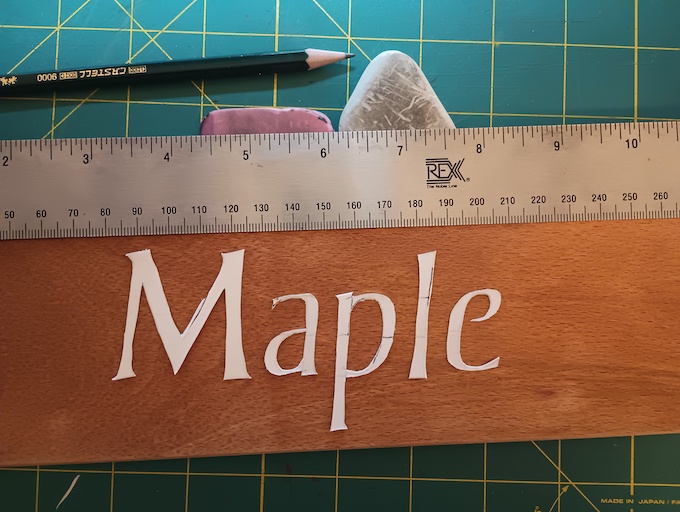
Cut outs of letters are useful for fine tuning letter spacing. They don’t need to be perfect, just close enough to give you a good sense of position and spacing of the letters. Once you have something that looks good to the eye, move on to drawing the letters on the wood.
I put transfer paper over the wood and tape the letters in place – it could be the entire design, a single word, or an individual letter like the “a” shown below. Then reiterate the letters on the wood using a sharp hard leaded pencil.

It is important to be more precise at this stage, to take the time to first draw the letters on paper and then carefully transfer them onto the wood. If all goes well, you will have a design on the wood ready for carving.
Paper Weight – Go Thin for Better Lines
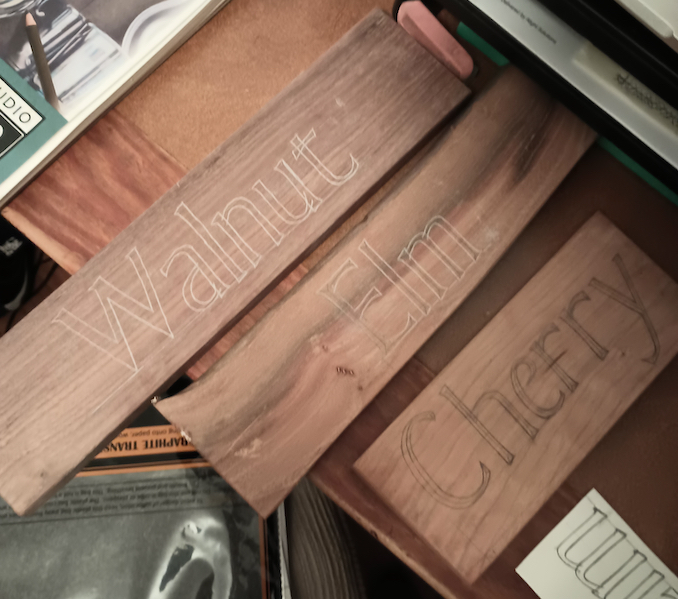
I experimented with different types of transfer paper and paper weights for doing the letter designs. On the Walnut sample pictured above the white lines look heavy because I used a thicker paper for my letter design and the transfer made fatter lines on the wood. Thinner paper works best for the design as it allows the point of the pencil to meet the transfer paper as close as possible, resulting in a finer line. As an extra step before carving, you can refine the lines directly on the wood to fix any problems with the transfer.
Next, using the techniques and tools described in Wenham’s book I got down to the carving (sorry, I didn’t stop to take any pictures). Every wood species responds differently when carving. From my experience so far, fruit woods are wonderful. But I wasn’t disappointed with the results I got with Maple, Elm or White Oak either. Another important factor in the quality of the carving is surface grain orientation (hint: you will get best results with quarter sawn wood).
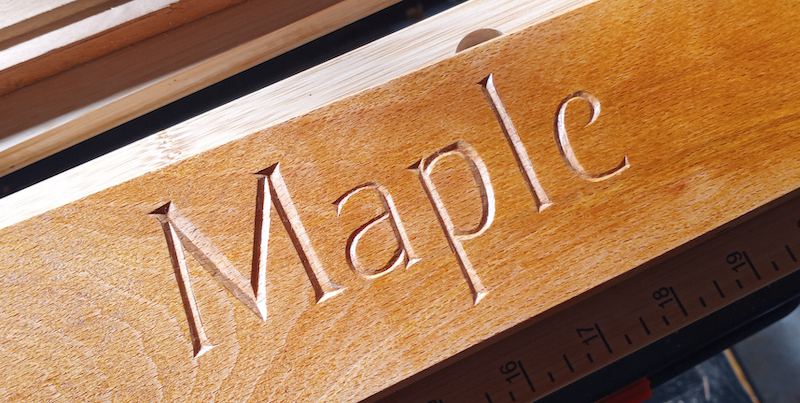

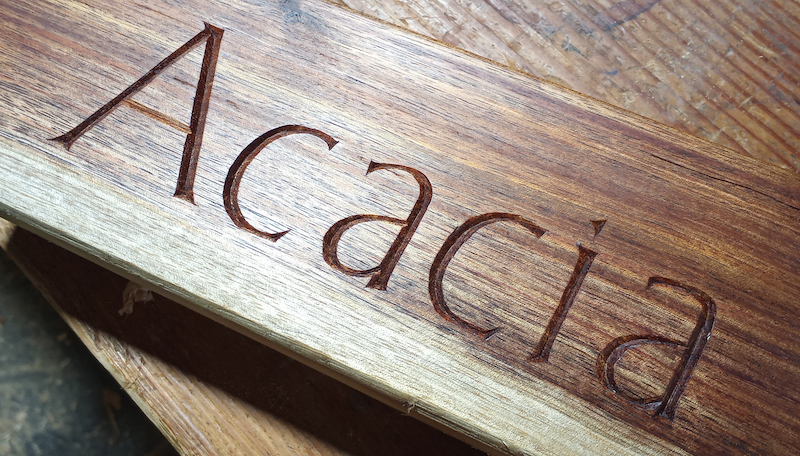
This was a fun project for building my letter carving skills, and these little boards will have a practical use as wood samples. As Wenham writes in his book, children especially love this kind of thing and so I will keep them in my shop and bring them along to farmer’s markets and craft fairs to show visitors.