
In making a bowl using hand tools, the process calls for doing a number of tasks, a series of steps from splitting out a log to rubbing in the final coat of oil.
Some of these tasks are more enjoyable than others, some easy, some hard, and some can be quite frustrating. Let’s focus in on one particular task that just about everyone who uses this method can put into the category of “frustrating” – drawing the permitter of the bowl.
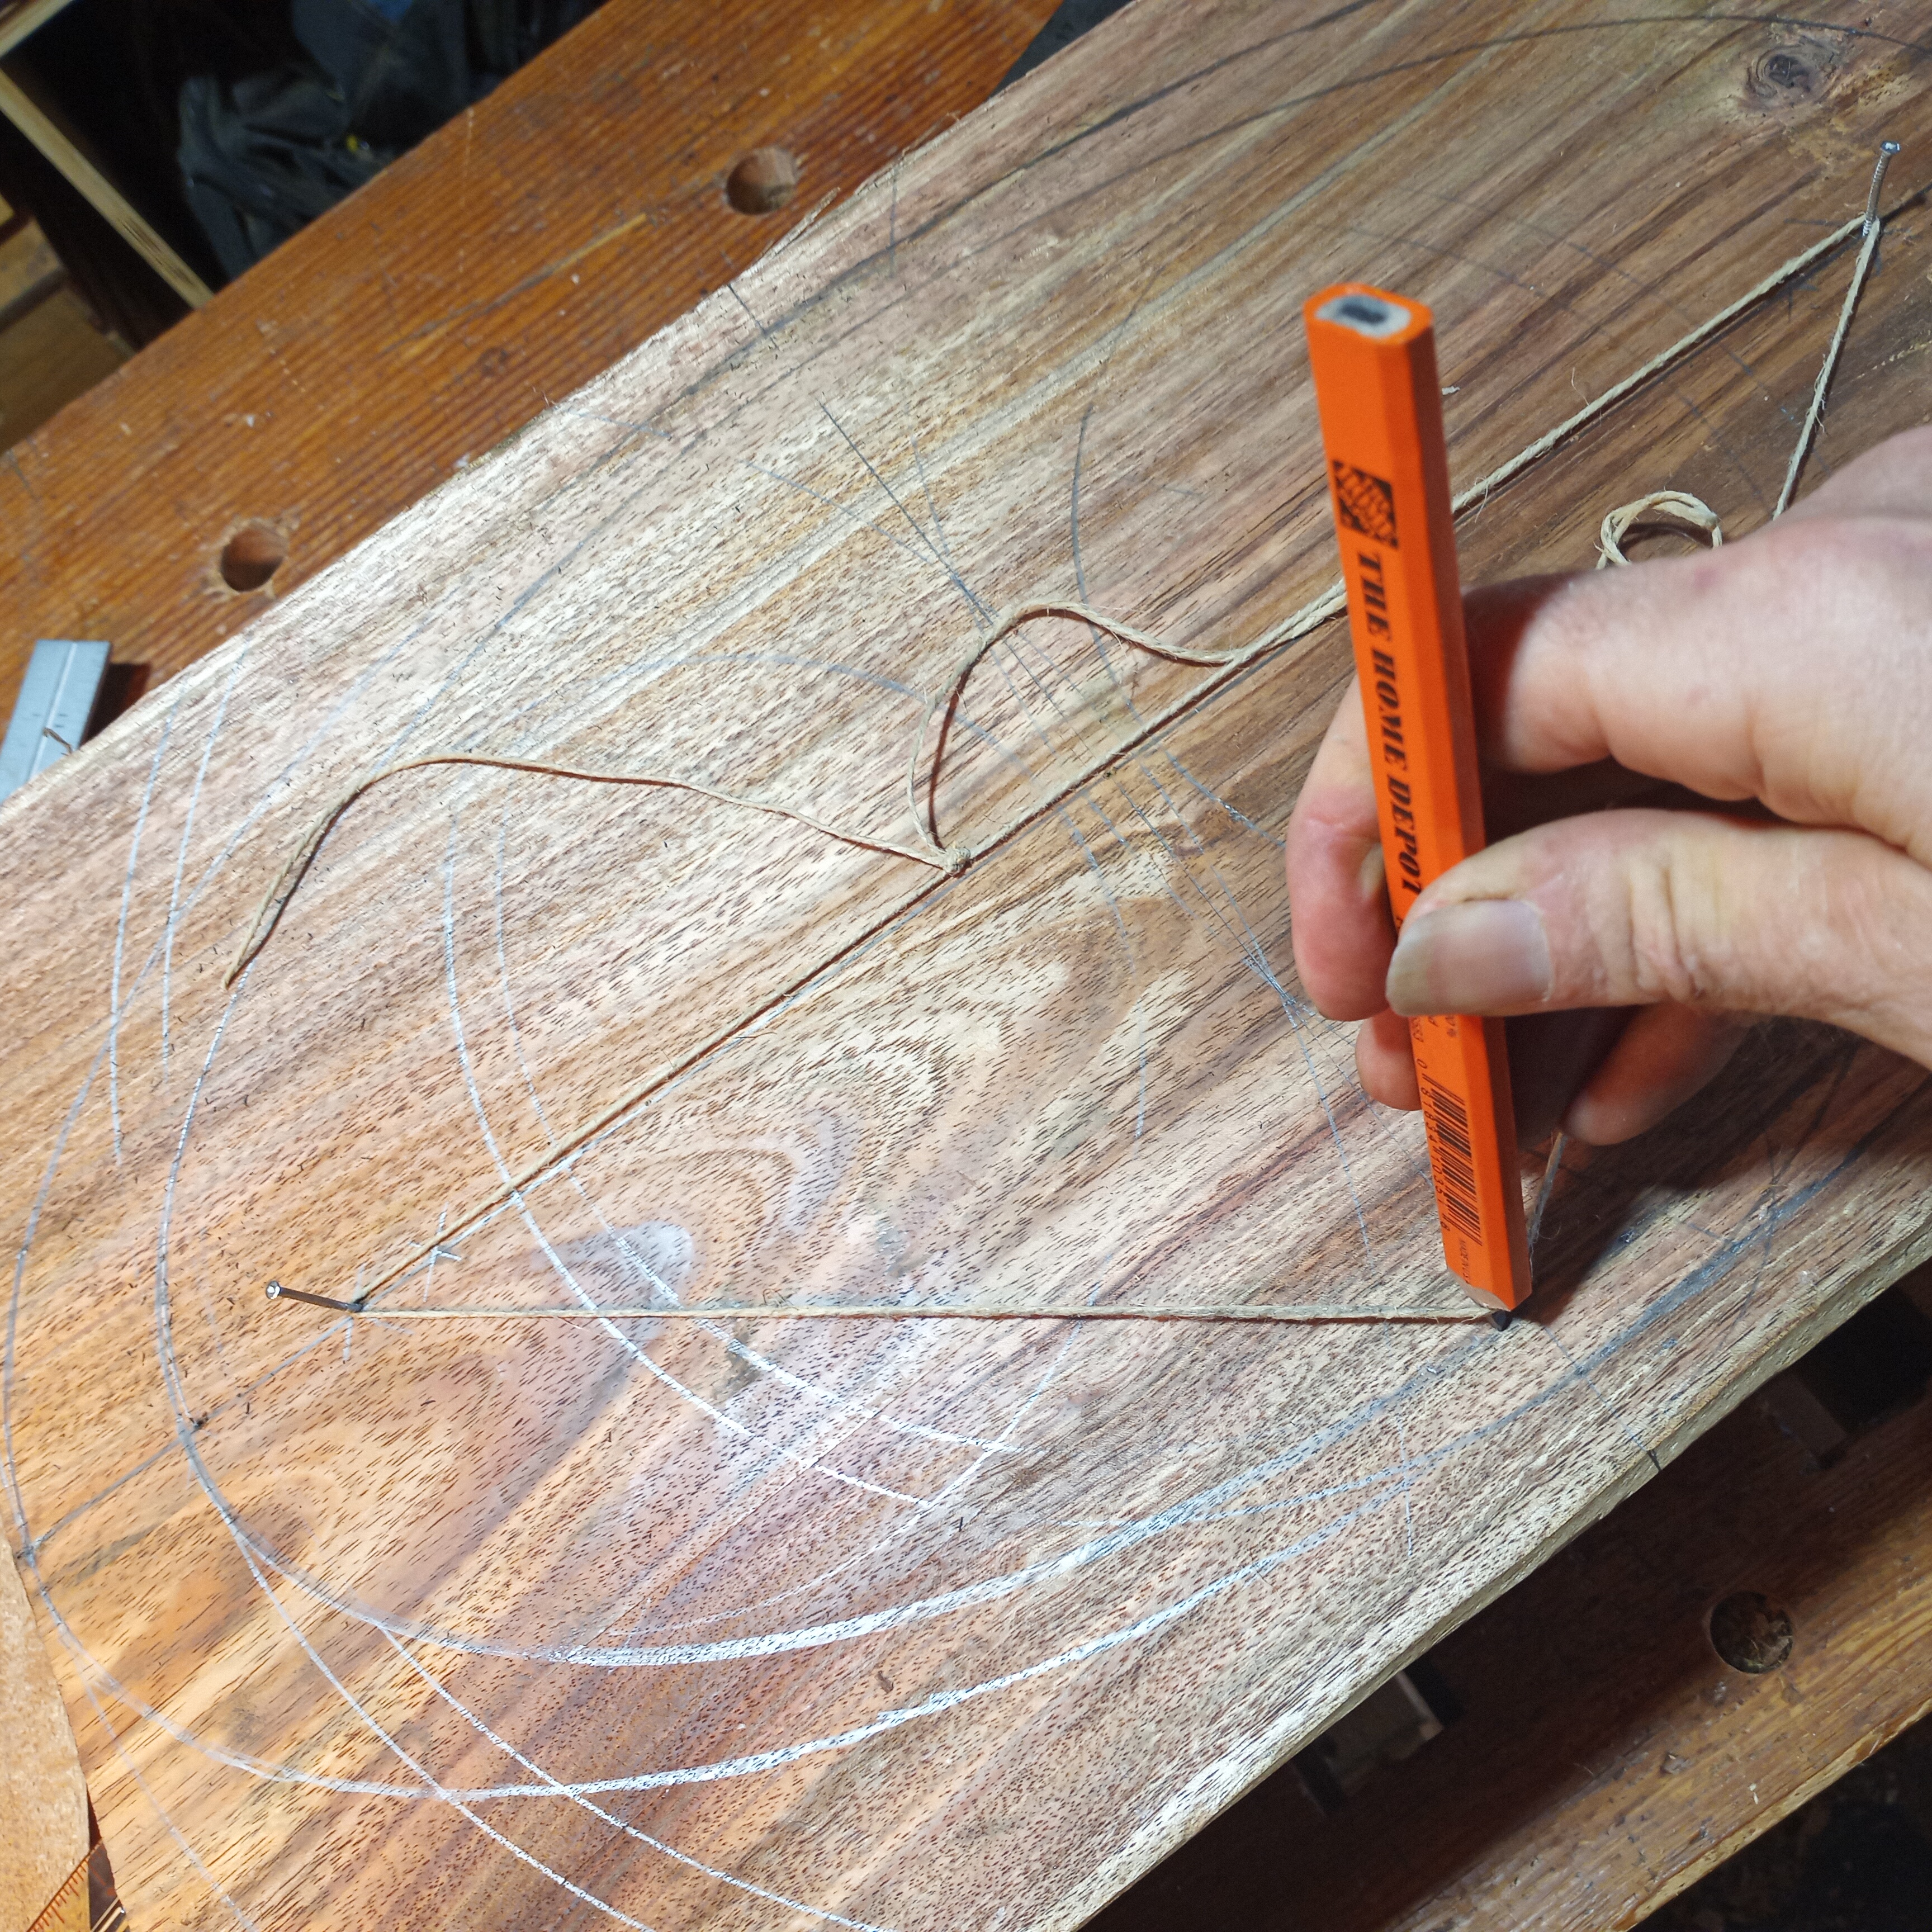
Here’s a photo I took while laying out an oval-shaped bowl. I’ve tacked in nails a distance from the midpoint of the blank and tied a string around the nails. Using a pair of dividers, marking the center lines for the bowl lengthwise and across the width is easy. Figuring out the placement of the nails using those same dividers is also easy. And it’s easy enough to tie off the length of string at the extreme of where you want the oval to go.
The tricky part is drawing the oval itself. What happens more often than not when you pull a pencil against the string is it slips out. You put the pencil back in place and continue drawing. It goes on a bit more, then slips out again. And so on. Eventually you complete the oval, but not without a few weird lines running around your design and a few choice curse words.
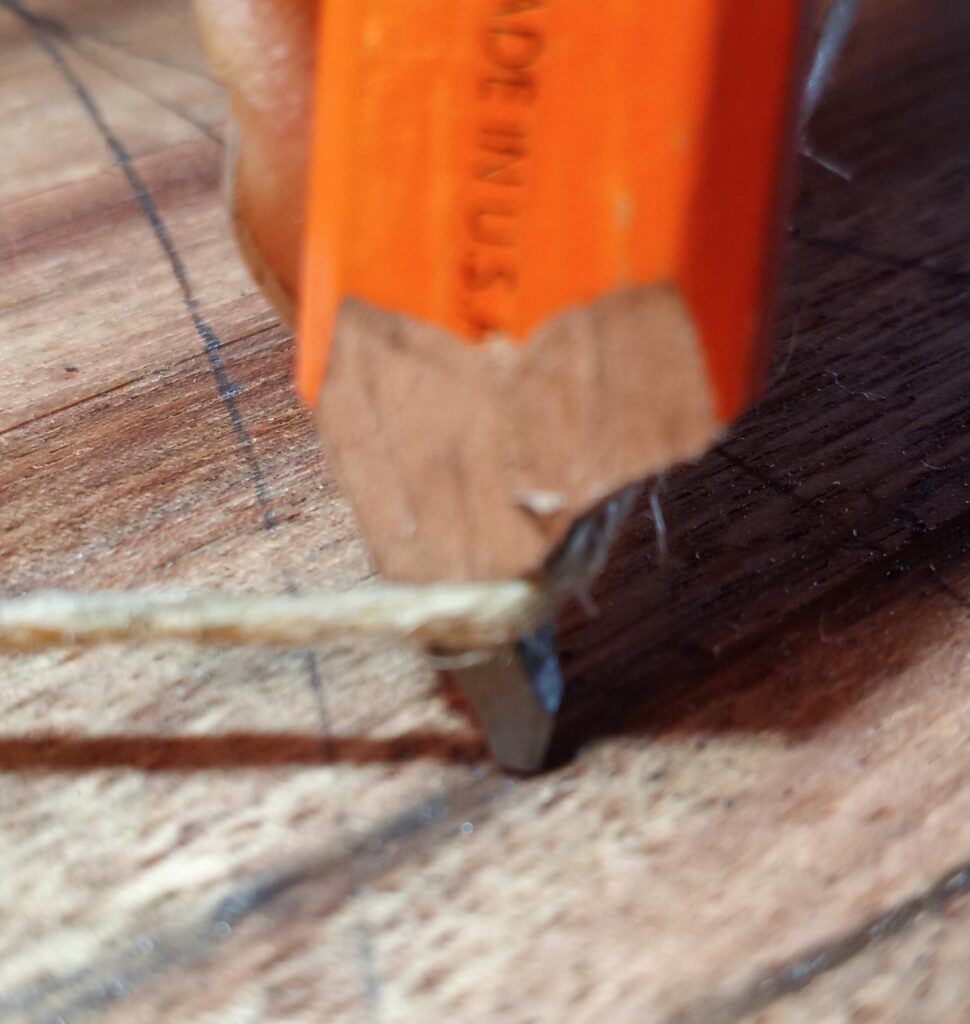
Above I show how to stop this from happening. Simply cut a notch in the pencil to create small hook. This holds the pencil in place and lets you draw a complete oval without it jumping off the string. No more frustration (or swearing).
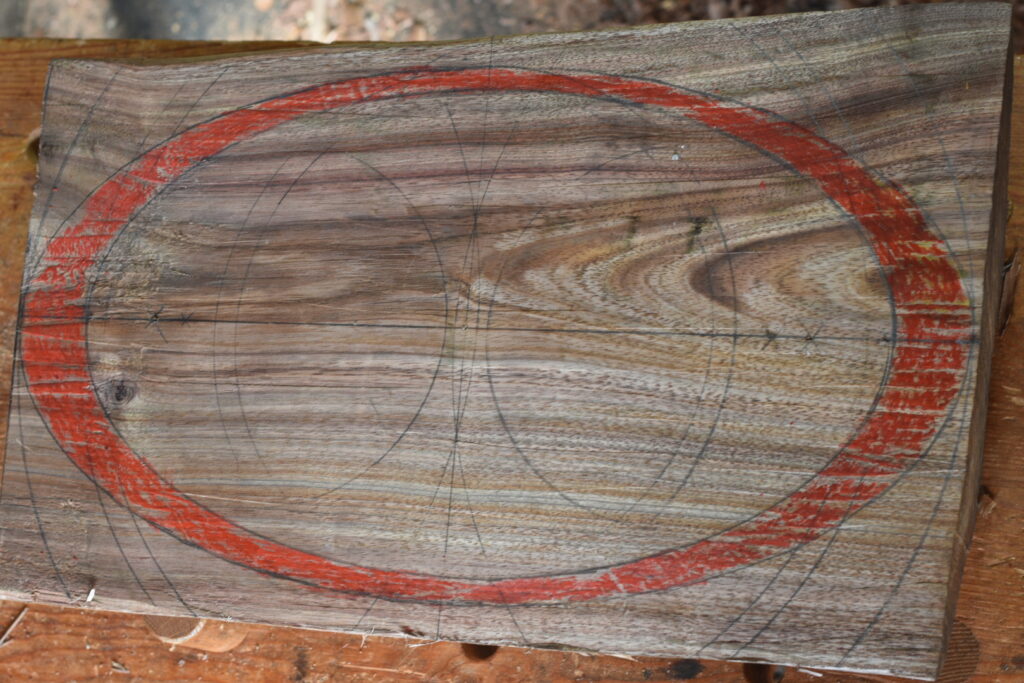
For this bowl I made two ovals – one for the inside and one for the outside of the rim. Look closely and you can see where I repositioned the nails along the center line to draw the second oval. Use this technique for getting a start on the outside rim of a bowl with a wider handle, too.
Give it a try on your next bowl. It will make this part of the process that much faster and carefree.