To remember a successful salad is to generally remember a successful dinner; at all events, the perfect dinner necessarily includes the perfect salad.
– George Ellwanger
I can’t say much about what makes the perfect salad. Growing up, I ate a lot of iceberg lettuce salads with a mayonnaise dressing. It’s doubtful Mr. Ellwanger would have said that is the perfect salad.
Strangely, or not, he had nothing to say about whether or not the bowl holding a salad contributes to the perfection of the salad. Can you have a perfect dinner with a salad served in a plastic bowl? Would an iceberg lettuce salad with mayonnaise dressing taste better served in a bowl made for a queen?
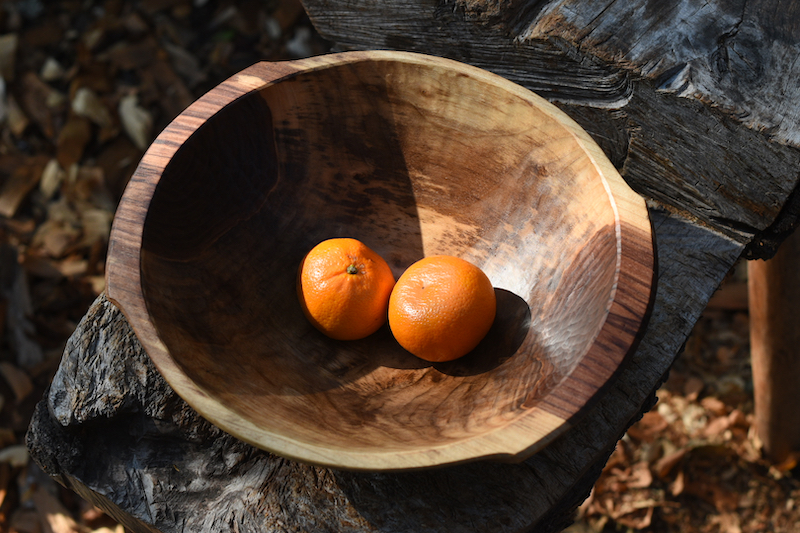
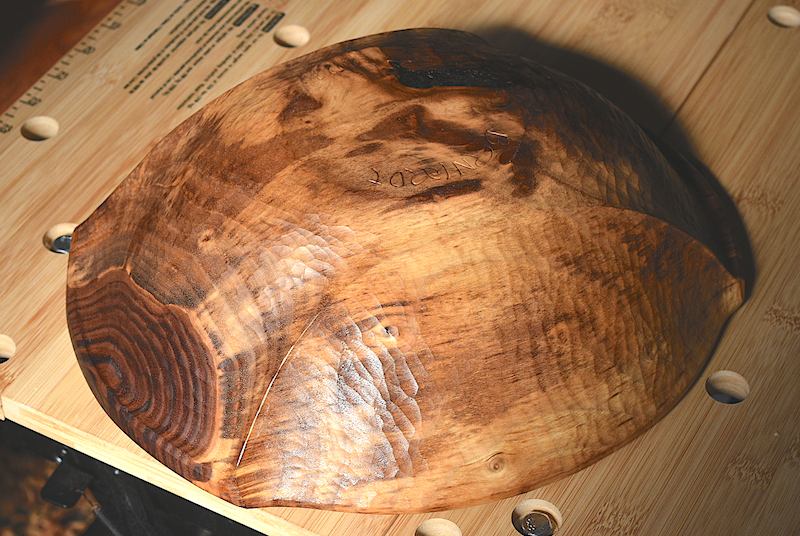
While I have made quite a few smaller round bowls, this is my first big round salad bowl. It’s just over 11 inches in diameter on the inside and 4 inches deep. That will hold a lot of iceberg lettuce!
Round bowls can be made without too much fuss on a lathe. If you don’t use a lathe to make bowls, like me, that doesn’t mean you can’t do it. It just means you use different tools and a different process.
Unfortunately, I didn’t take any pictures during early phases of making this bowl. But the green phase of hand carving this kind of bowl is pretty straight forward and it all starts with a good layout, summarized as follows:
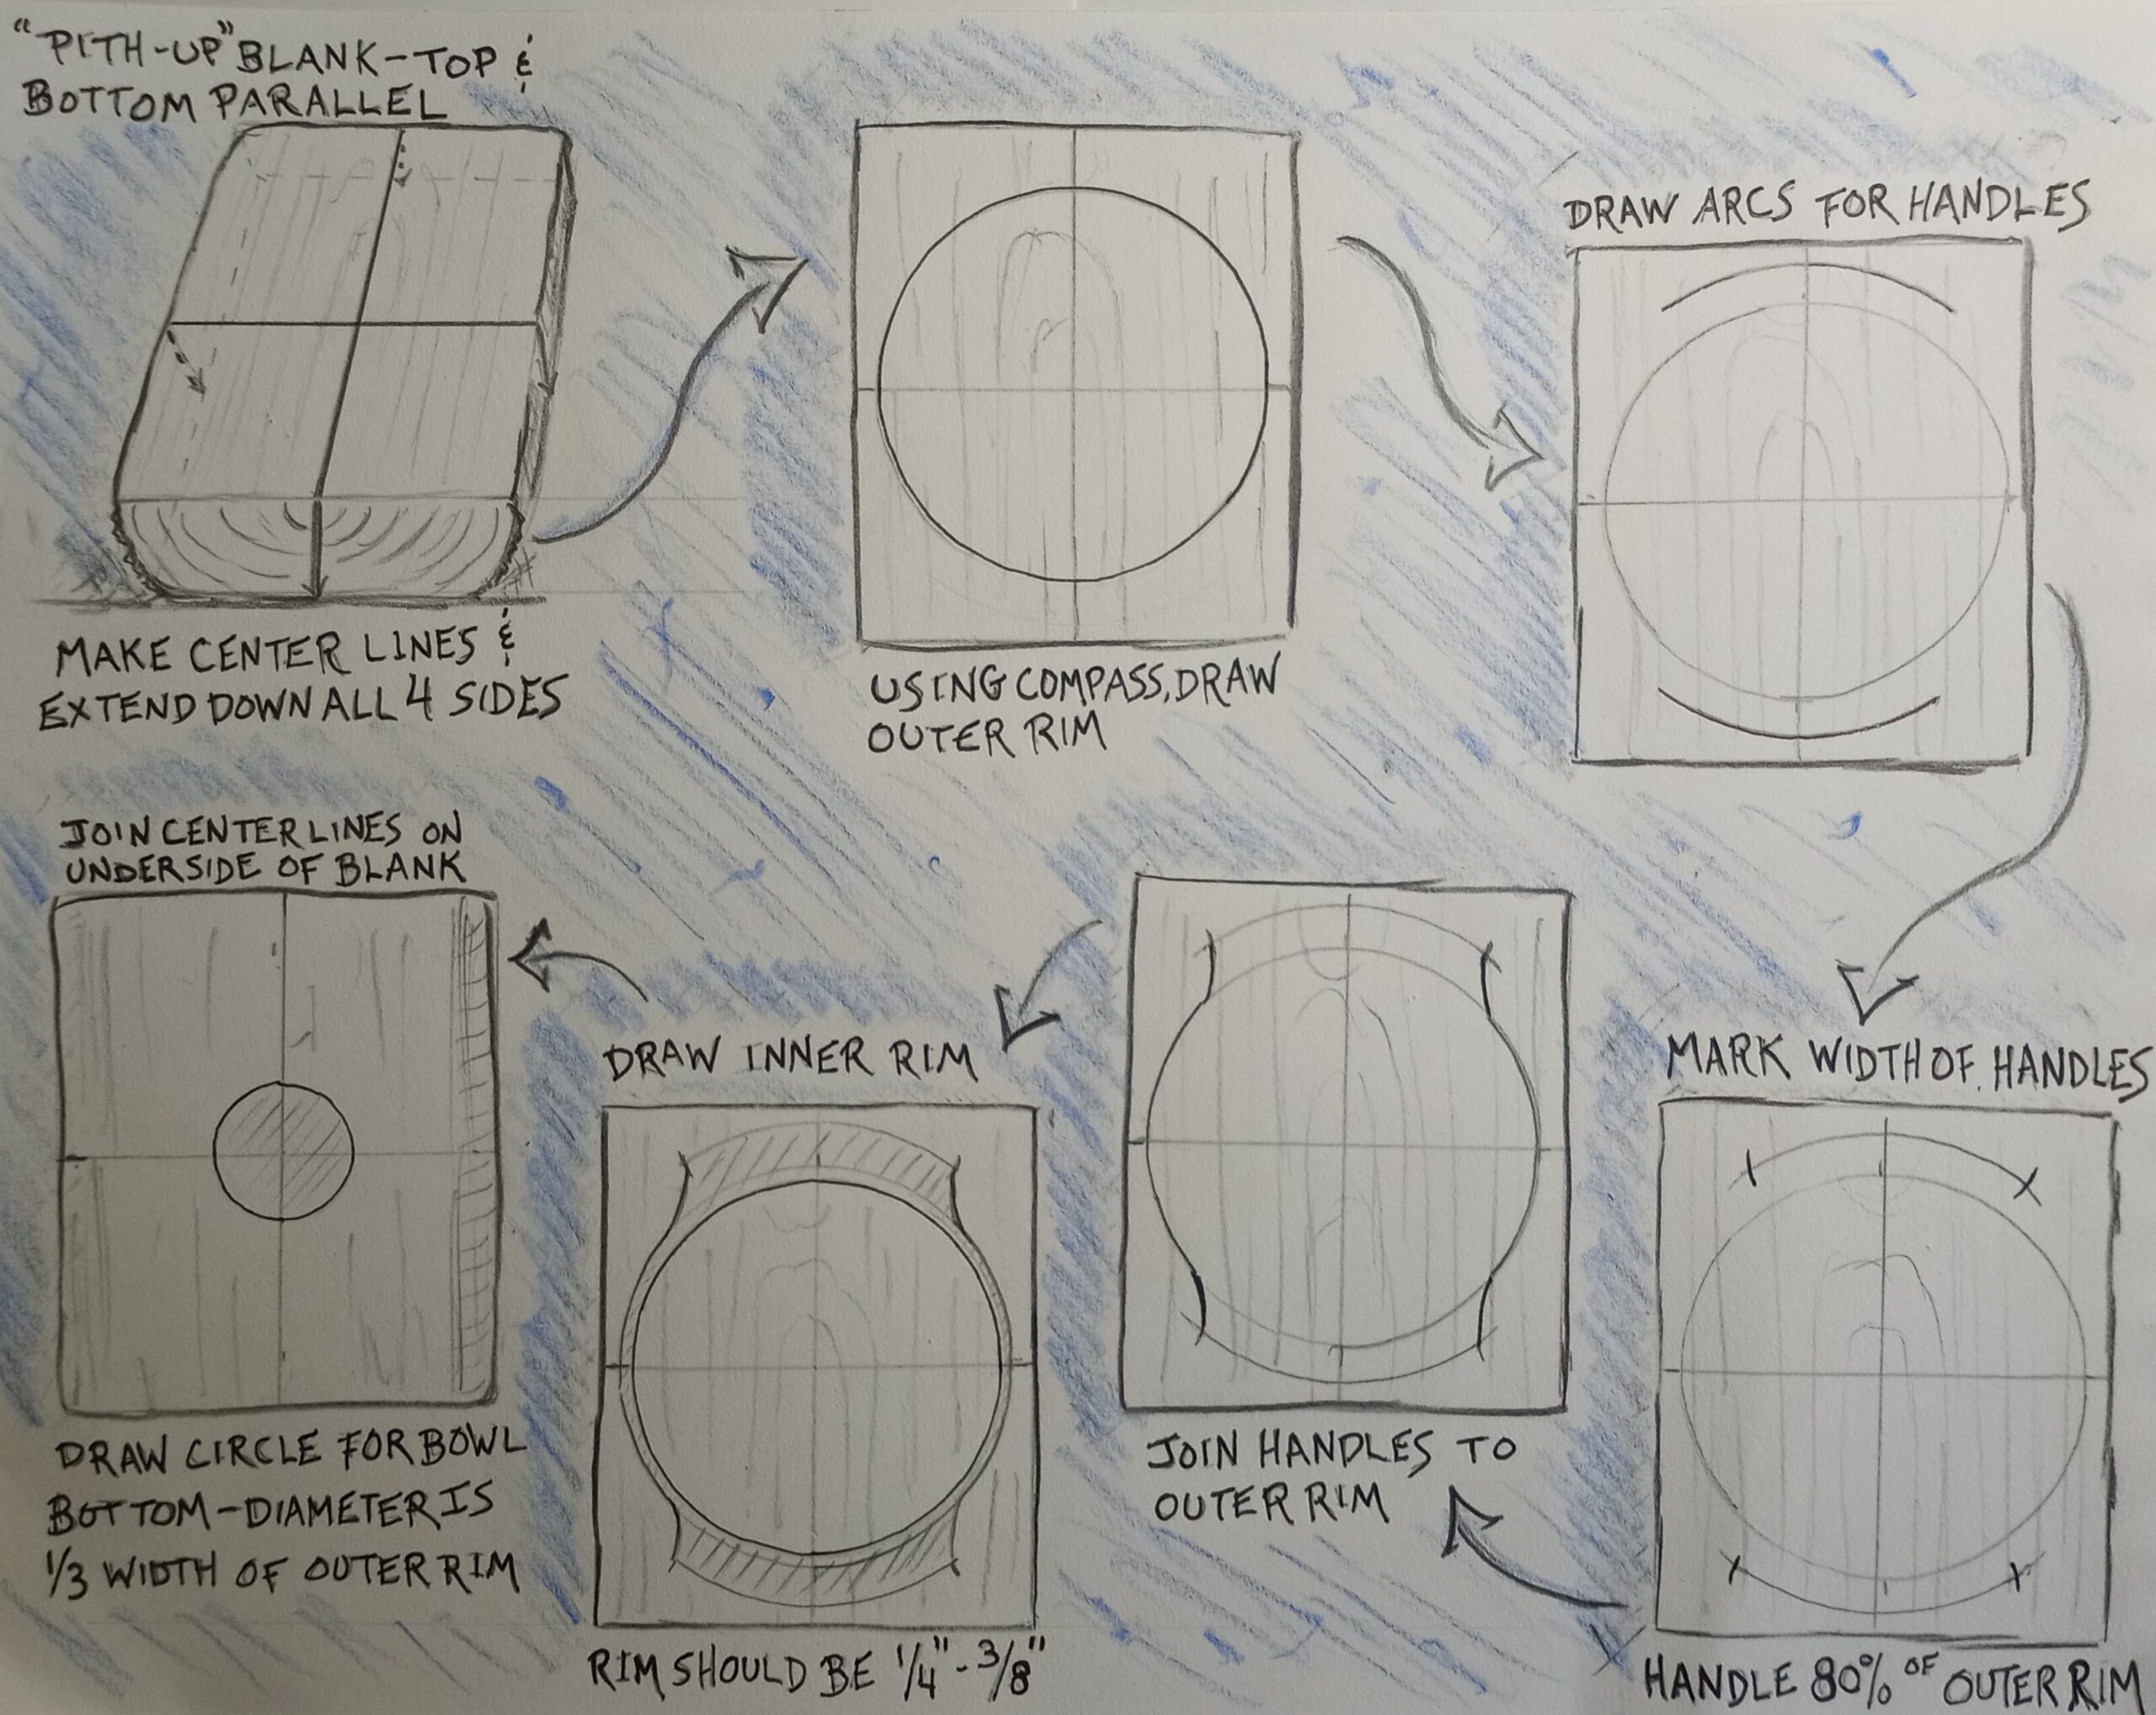
Obviously, there’s room for variation. The size of the handles can be as deep as you like. Or you could go without any handles at all. If the former, just make sure the handles are big enough for someone to get a good finger hold on it.
After layout, as I do with every other bowl I have made, I remove the inside of the bowl using an adze. For the outside I use an axe, drawknife and spokeshave to shape the bowl, with some gouge work on the ends to shape the underside of the handles. Then the bowl is ready for drying – wrapping it in a thick towel, I set it aside in a corner of my shop away from sunlight. It usually takes two to three weeks for the bowl to dry.
From there, it’s up to you when you want to move on to the finishing work on a bowl. In this particular case, it was several months before I picked it up. (I have a closet full of dried bowls waiting to be finished!)
I’ll do better about documenting the complete process for future posts. In the meantime, I did take a few pictures as I worked through the finishing work. As with the green phase, I start on the inside of the bowl. You should have enough material left after roughing out of the bowl to experiment with texture using different gouges. I often do that with the No. 5 and No. 7 gouges. Also, if you leave the walls of the bowl too thick in the green phase, a No. 7 is efficient at removing more material quickly; you can even use an No. 8 or 9 if you have them and need to be aggressive about it.
Wall Thickness Worries
My experience has been that it’s easy to leave the walls of the bowl too thick before drying. This not only increases the risk of cracking, it will leave more work for you to do in the finishing stages. Strive to get that bowl as thin as possible before drying. You’ll thank yourself later!
It’s really no different than spoon carving; the more spoons you carve the better you get at removing the maximum amount of material before setting it aside to dry. Similarly, I have found that finding that right thickness before drying gets easier as you carve more bowls. In the meantime, don’t worry about it and have fun with the process.
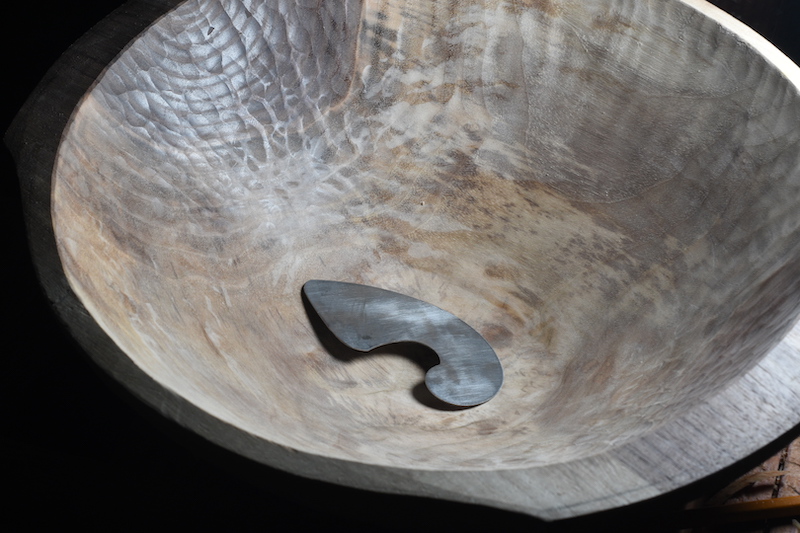
After finishing the gouge work, I went over the inside of the bowl with this curved card scraper.
Because this bowl is intended to hold food, I wanted a smoother surface all around while leaving just enough texture to give someone handling the bowl a good response.
Moving on to the underside of the bowl, I decided to carve a raised line to highlight the shape. This, like a lot of the things I do with bowls, was inspired by a blog post from Dave Fisher. Starting with the bowl after it has dried you draw an arcing line along the length of the bowl from one handle to the other. Carve flutes on either side of those lines to form a seam and then blend it into the rest of the bowl. Go here for Dave’s full post for a much better description of the process.
At this stage, I have the flutes carved on either side of the line.
A good raking light is essential for making effective finishing cuts. This desktop lamp adjusts in all positions and is easy to move around on my bench.
The universal vise from Lee Valley is perfect for holding the bowl. It’s fast and easy to reposition the bowl as I progress around the surface and the vice puts the work piece at an ideal height for carving.
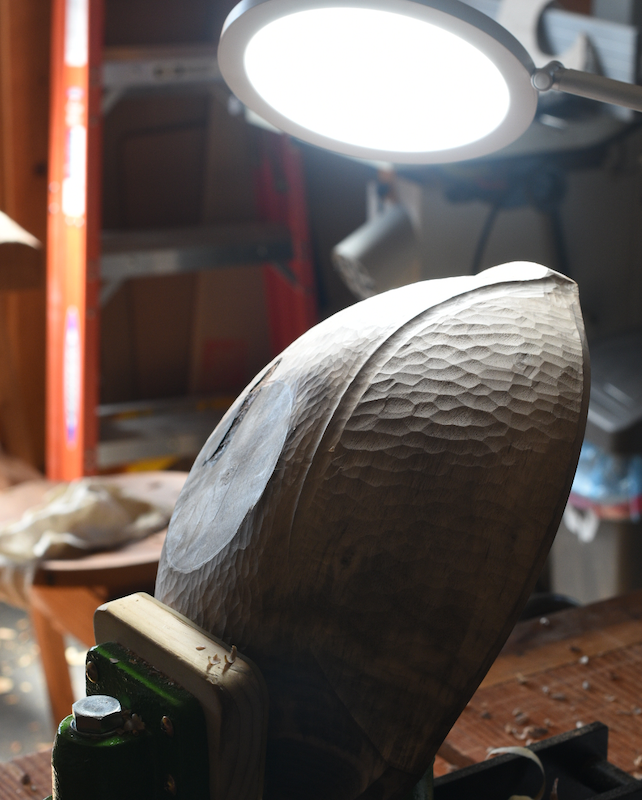
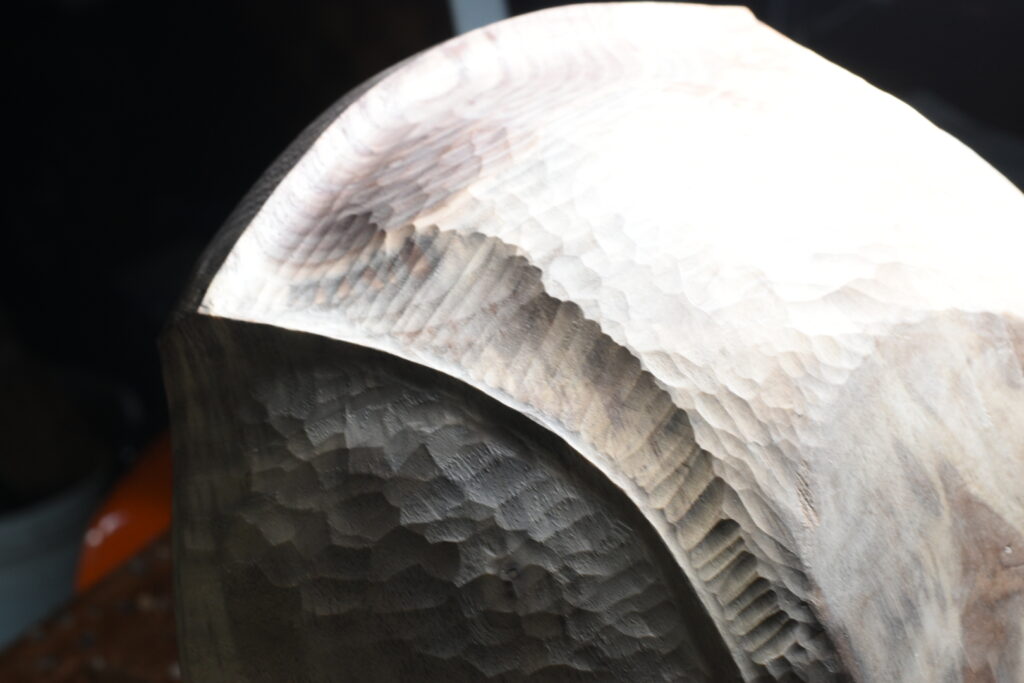
Using a combination of No. 7-9 gouges I deepened the flutes working perpendicular to the seam before doing the final blending cuts with the No. 7 gouge.
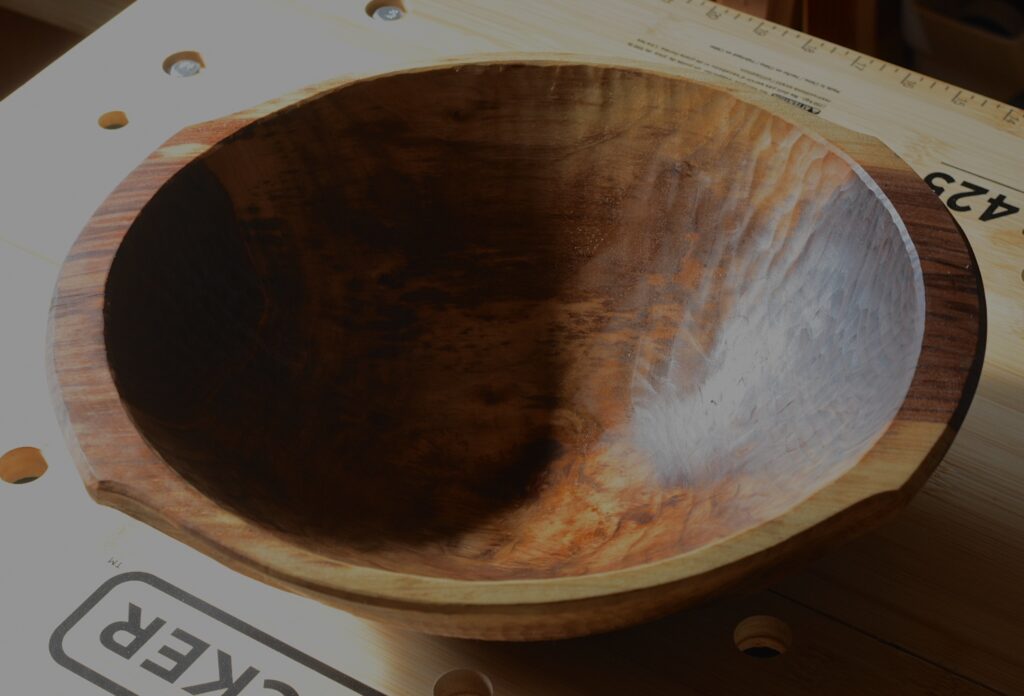
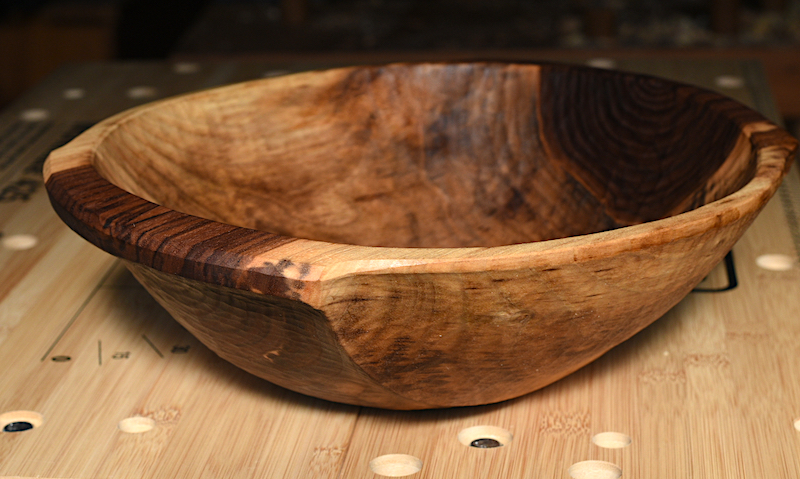
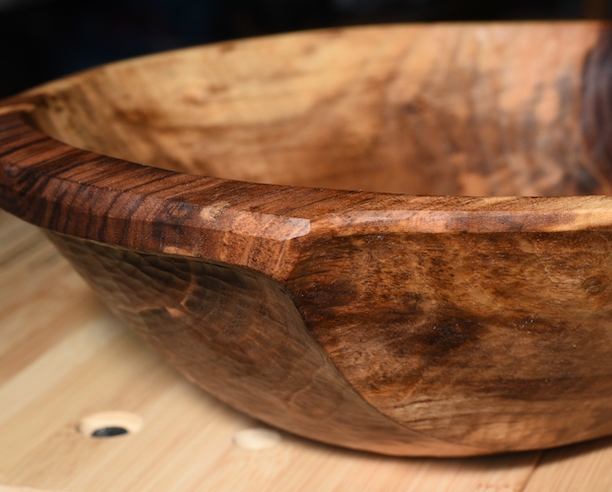
Here are some pictures I took of the finished bowl after a coat of linseed oil.
Oil always draws out the rich color of walnut, and here the variation of color across the surface is dramatic. So much so that the texture on the underside of the bowl is working pretty hard to be seen. I considered using milk paint on the outside as a way of giving preference to the texture. I like using milk paint and I’m sure it would have worked out okay on this bowl. But in the end, I decided to let the natural color do its thing. The texture will reveal itself when the bowl is held as it passed around the dinner table. Remember, these things are meant to be handled, not just seen.
Happy carving!
